Creating a Zone
It should be noted that a pre-requisite for creating a Zone is the creation of a Publisher with instructions found here, a Channel with instructions found here, and also a Site with instructions found here. It should also be mentioned, however, that all four entities can be created simultaneously via the same form.
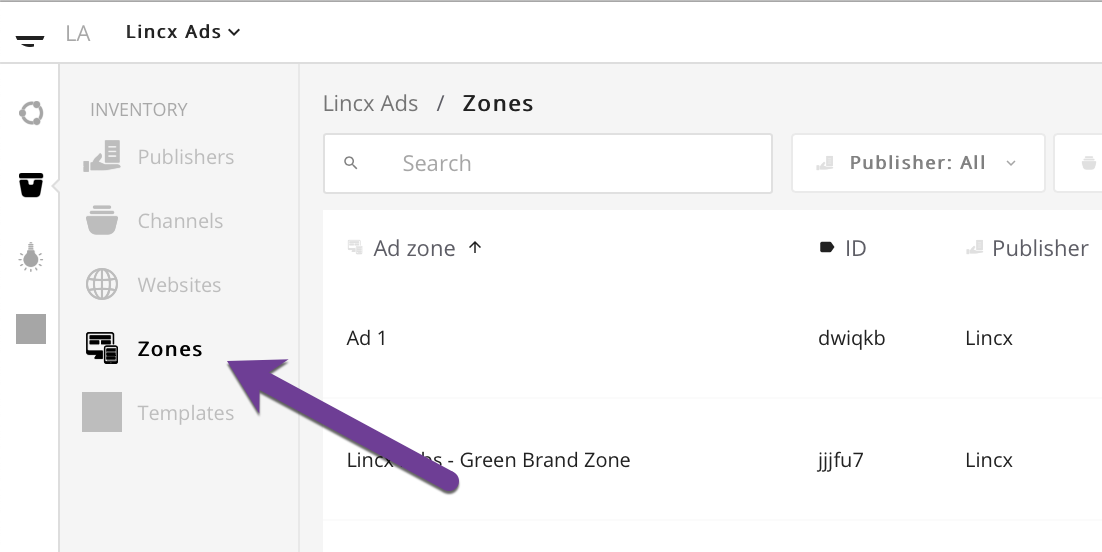
In order to create a Zone you will first need to navigate to the Websites tab in the Inventory section as depicted below.
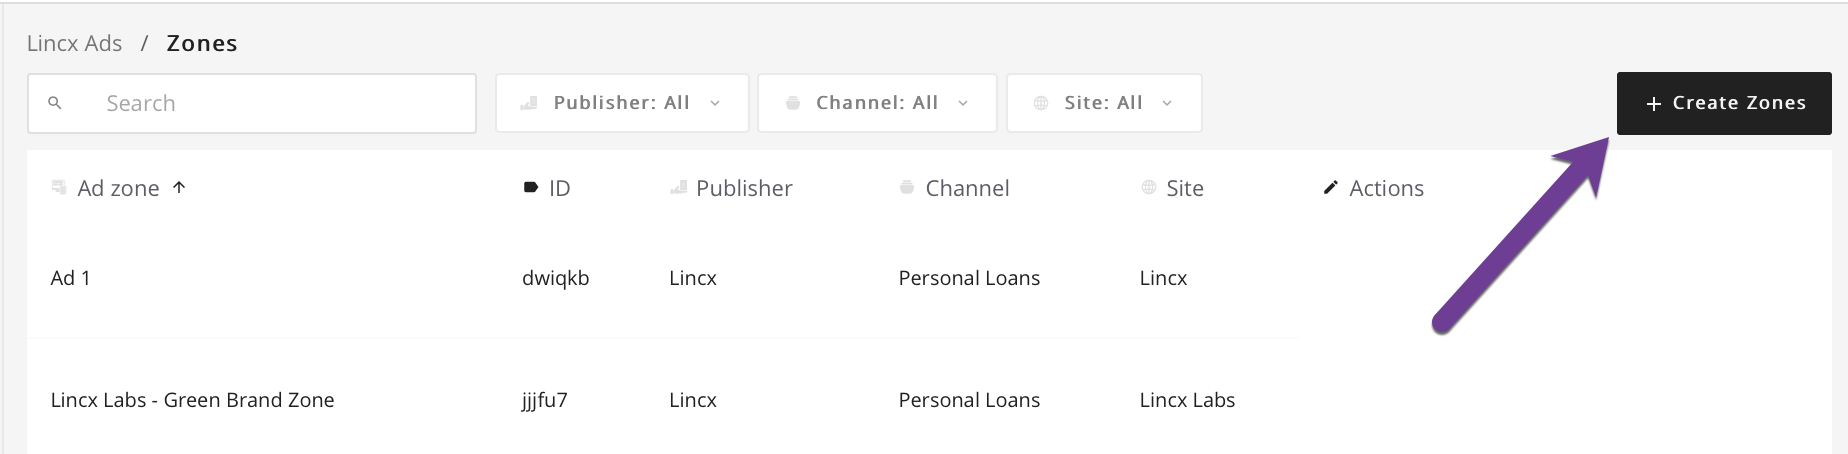
Once you're on that page, select the Create Zones button in the upper right corner which will open a popup form.
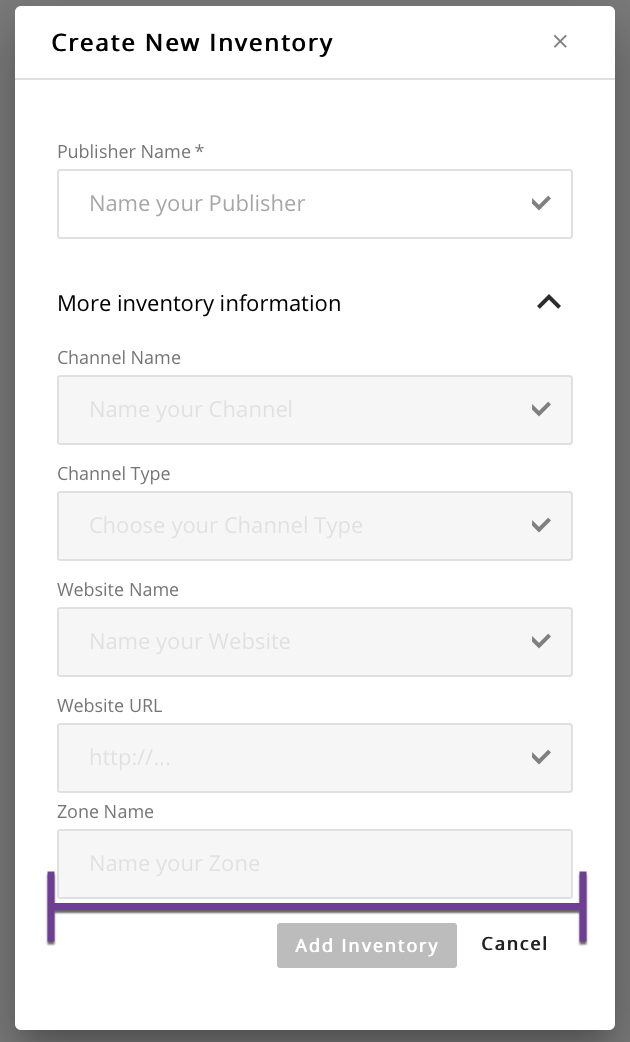
This form should look like the image below. In order to access the Zone section of the form, you first must select the Publisher, Channel, and Site options that this Zone will be associated with or fill them out to create new entities.
The first input called is Publisher Name and must be selected or you can type in the field to create a new Publisher. Once that is completed you will have access to the section related to Channel creation and can fill out the Channel Name field and optionally select the Channel Type or use one already in the dropdown menu. Next is the Site portion of the form which requires you to select a site or create a new one by filling out the name and url. If you create a new Site, ensure that you enter the full address with either http:// or https:// preceding the web address as this is required. The final step is to actually create the Zone entity which requires the name to be entered in the Zone name field.
Once you are satisfied with your entry, click the add inventory button and you will be redirected back to the Zone index view.